Table of Contents
Here is how you can create, setup, open and manage projects.
Since REVEN-Axion is a server-client architecture, projects live on the REVEN server side only: opening a project will open it on the server, and you can then use Axion to connect to that opened project. Closing your client would simply disconnect it, but wouldn't affect the project's state. Only by explicitely closing the project would you free the resources on the server, but make sure no one else is using it and that you have saved your work before doing so!
The project view
This is the first dialog that you'll see after connecting to a REVEN server.
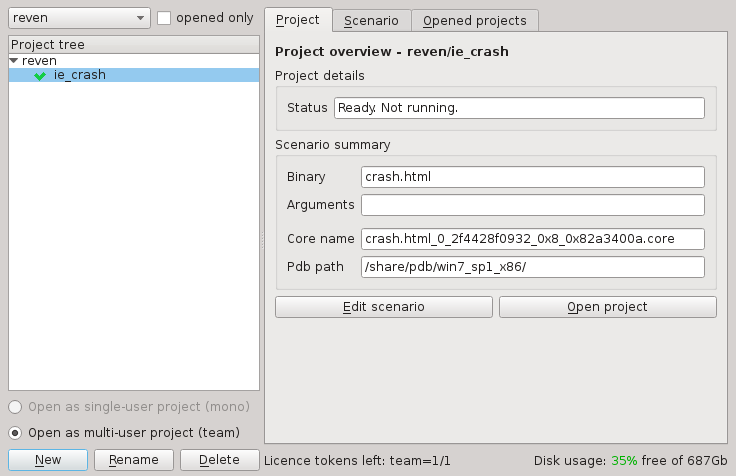
From this view you can create, edit, and open your projects.
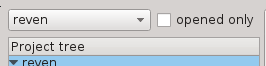
By default, this view will show the current user's projects. You can select what user you want to see, or if you want to see only the opened projects.
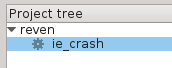
In any case, the tree view will show a list of projects, and will use a different icon if the project is opened.
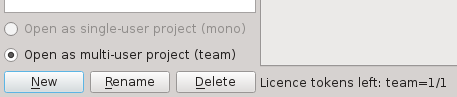
This view also shows the currently available licence tokens, and allows the user to select under which licence to open the projects.
Project & Scenario creation
You can click on the New button below the project tree to create a new project. It will take you to the Scenario tab, where you can configure it, according to what follows.
Note this page explains the GUI, but for a manual scenario generation you should definitely read the scenario creation page to go deeper into the subject.
Automatic scenario
If you want to analyse a binary from the start, you can select it so it will be automatically launched. The scenario will start when the binary reaches the specified symbol (or main by default), and will stop when the binary stops.
Note that if your binary doesn't stop on its own, you will have to stop the scenario (or the VM) yourself.
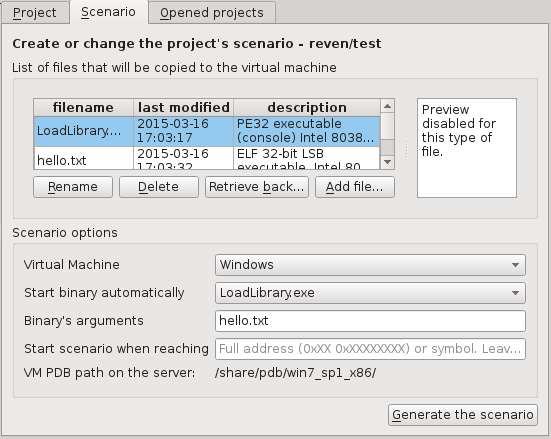
In this screenshot, you can clearly see the selected binary, its arguments, and that we chose the default symbol for starting our scenario.
Manual scenario
If your case is more complicated, for instance if you want to analyse a running program, you will have to start and stop the scenario yourself. To do so, do not select a binary:

Now click on Generate the scenario.
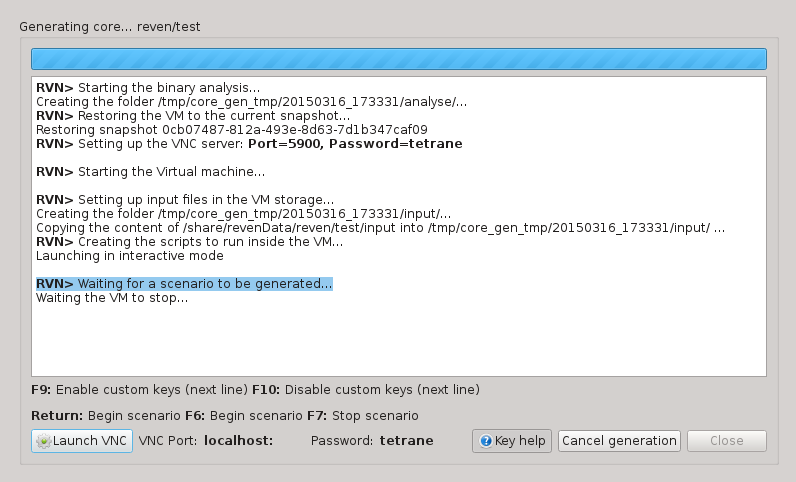
It is now time to connect to the VM through VNC, then to control the scenario we provide shortcuts:
- F9/F10 will activate/deactivate the following shortcuts:
- F6 or the Enter key will start the scenario
- F7 will stop it and shut the VM down.
Prior to the recording, you should browse to the mounted CD-Rom and launch the dump_process binary: this will retrieve OS information about processes, the framebuffer, etc. You should launch this with administrator privileges.
Execution : creating a new execution trace
Now reven will ask you to configure the execution and to select which inspectors will be loaded. Note that each project can have as many execution traces as you want, but only one can be created and opened at a time.

Clicking on an inspector will display its options. Note that on this screen, you could instead load a previously saved execution trace (and not re-execute it), or use a saved execution preset.
You can then start the execution.
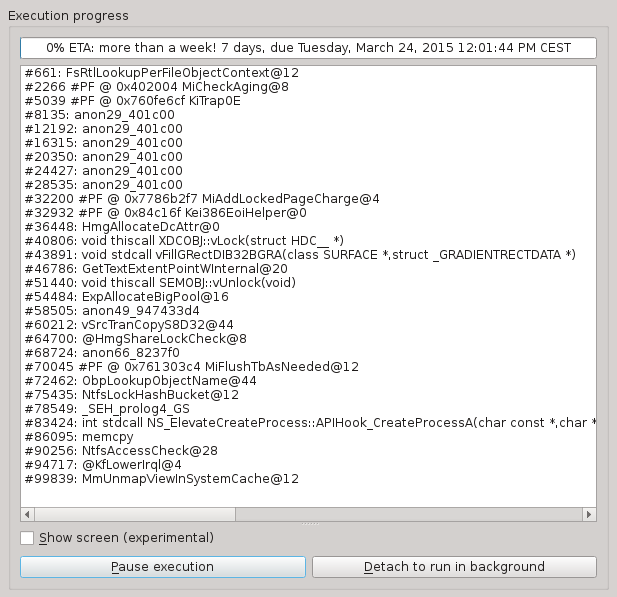
This is the progression window. Note that you can safely disconnect from the project, the execution keeps going. You can pause and resume the execution, although doing so too often is not advised because it can have an impact on certain inspectors.
Once the execution is finished, if the progress window is opened the GUI will start automatically. Otherwise you'll have to come back regularly and check the progress status.
Note that once an project is opened, it is not closed if you simply exit the GUI. To close an opened project, you have to explicitely Force close it from the project view.
Beware that closing an opened project will delete any non-saved execution trace.
Saving the execution trace
You can save an execution trace to retrieve it even after the project is closed.
However considering the amount of data an execution trace requires, part of its on-disk data is generated during the execution. That implies a few non-obvious technical limitations you should keep in mind:
- You can only have one save of an execution trace at a time: once your trace has a dedicated save file, you can only save to the same file afterwards.
- You cannot duplicate an execution trace.
- Resuming a saved execution trace will still cause part of the on-disk data to be modified; hence, to avoid inconsistencies, REVEN will delete the save file. Should your execution crash, or should you close the project, the save file and the corresponding execution trace would be lost: save again right after the execution is over!
Managing the life of your projects
A project only lives on the REVEN server machine, so the project view allow you to manage their lives. Here are a few things you should keep in mind:
- Each project's execution trace can take up to hundreds of Gb of disk space, so you should only keep those that are relevant.
- Each opened project uses RAM (up to 3Gb depending on the project's size): you should always save the execution trace and close the project whenever possible.
- Each on-going execution will requires around the same amount of RAM (from 1Gb up to 3Gb depending on the requested inspectors), so make sure there is enough before starting one. For the moment REVEN does NOT behave very well when there is no memory left.