Record a first scenario
Now that we have a Virtual Machine ready, it is time to do our first recording.
Creating a new scenario
The first step is to initiate a new scenario, where the Project Manager can store one recording and its resources.
-
In the Project Manager, click on the
Scenario Managertab. -
Click on
New scenario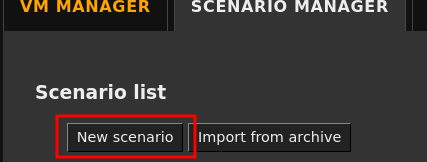
-
Enter a name for your scenario, such as
First Scenario. -
In the
Snapshotcombo box, pick therootsnapshot of the VM you have imported earlier.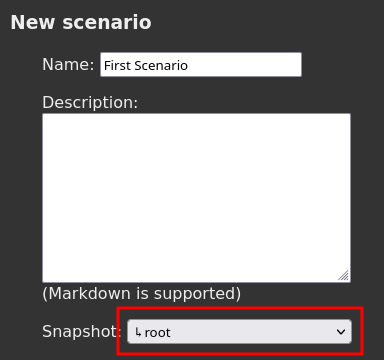
-
Click on
Nexton the top-right corner of the page. -
On this page, you could upload and make new files available to your VM via the CD-Rom. However, in our case, we will record a system binary, so we can skip it. Click
Next.
Recording the hostname binary
You are now seeing the main recording page. You should recognize the VM control buttons from when we imported it.
-
First, locate the live snapshot you created earlier.
-
Restore this snapshot by clicking
Start(note the snapshot name can vary).
-
Once the snapshot is restored,
Show in browserappears: click on it. -
Make sure you have both the Project Manager page and the VM screen in view, so you can quickly navigate from one to the other.
-
In the VM screen, you should have a console opened. Type in
hostname, but do not press Enter yet. -
We will record the execution of this command:
-
Click on
Start recordin the Project Manager.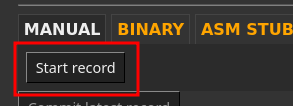
-
Quickly select the VM screen tab and press Enter. This will effectively start the command we typed in earlier.

-
The command's execution should be almost instantaneous.

-
As soon as you see the output in the VM screen, click on
Stop recordon the Project Manager page.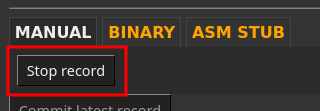
-
-
You can redo this recording with
Start recordandStop recordagain as many times as you want, until you get a short recording. -
Once you are satisfied with your recording, click on
Commit latest record. -
Force shutdownthe VM to save on CPU ressources. Note that this is quickest way to shut the VM down, and it is safe because the next recording session will likely start from the known good live snapshot anyway. -
Click on
Next.
Replaying
The next screen is the Replay screen, were REVEN will extract the trace from the recording and build indexes.
-
Keep all the defaults and click on
Replayat the bottom of the screen.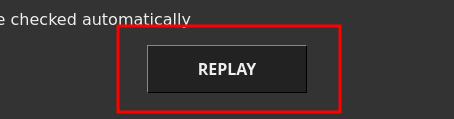
-
Wait for all ressources to be done and at 100%. This will take a few minutes.
-
Click on
Next.
You are now on the Analyze page. Head over to the next Analyze section.