REVEN in Hyper-V
Here are the specific steps to import the pre-installed REVEN's Hyper-V VHDX disk.
Before proceeding to the following steps, please make sure you read the general steps for installing REVEN in a VM first.
Creating and configuring the VM
VM Creation
-
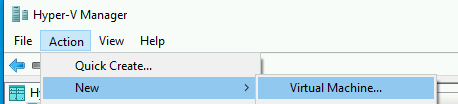
Open up the Hyper-V Manager.
-
Under the "Action" menu, select "New", then "Virtual Machine".
-
Specify the name and location you want.
-
Specify "Generation 1" VM.

-
Select at least 16384MiB of RAM.

-
Select a connection that allows you to connect to this machine from your host, and also allows the VM to access the Internet. Default Switch should work on default setups:

-
Next, connect to the REVEN VM disk you previously downloaded:

-
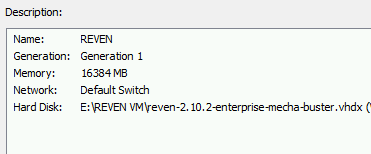
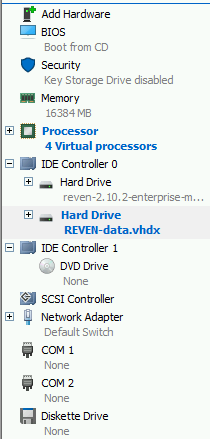
At this stage, your VM summary should look like this:
-
Click on "Finish".
Further configuration
We cannot boot the VM yet, further configuration is required:
-
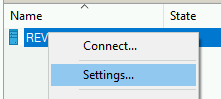
Open the VM's settings dialog.
-
Change the number of virtual processors to the recommended 8:

-
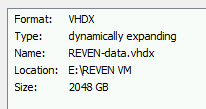
Select the IDE disk that will serve as the data disk on Ide Controller 0. If you are upgrading from a previous VM installation, you can select the previous disk - otherwise you must create a new one:
- The disk should be VHDX.
- Dynamically expanding is acceptable.
-
At this stage, your VM should look like this:
-
Finally, you must activate nested virtualization on this VM:
- Open an administrator powershell console.
- Enter the command
Set-VMProcessor -VMName <VMName> -ExposeVirtualizationExtensions $true(replace<VMName>with your VM's name)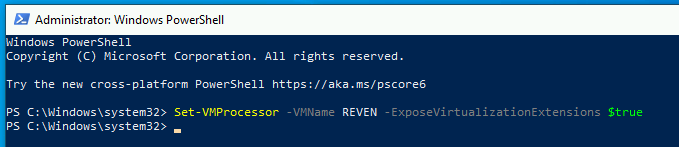
Booting it up
Your REVEN VM is now properly configured, you can go back to the general steps to install REVEN in a VM to boot it up.