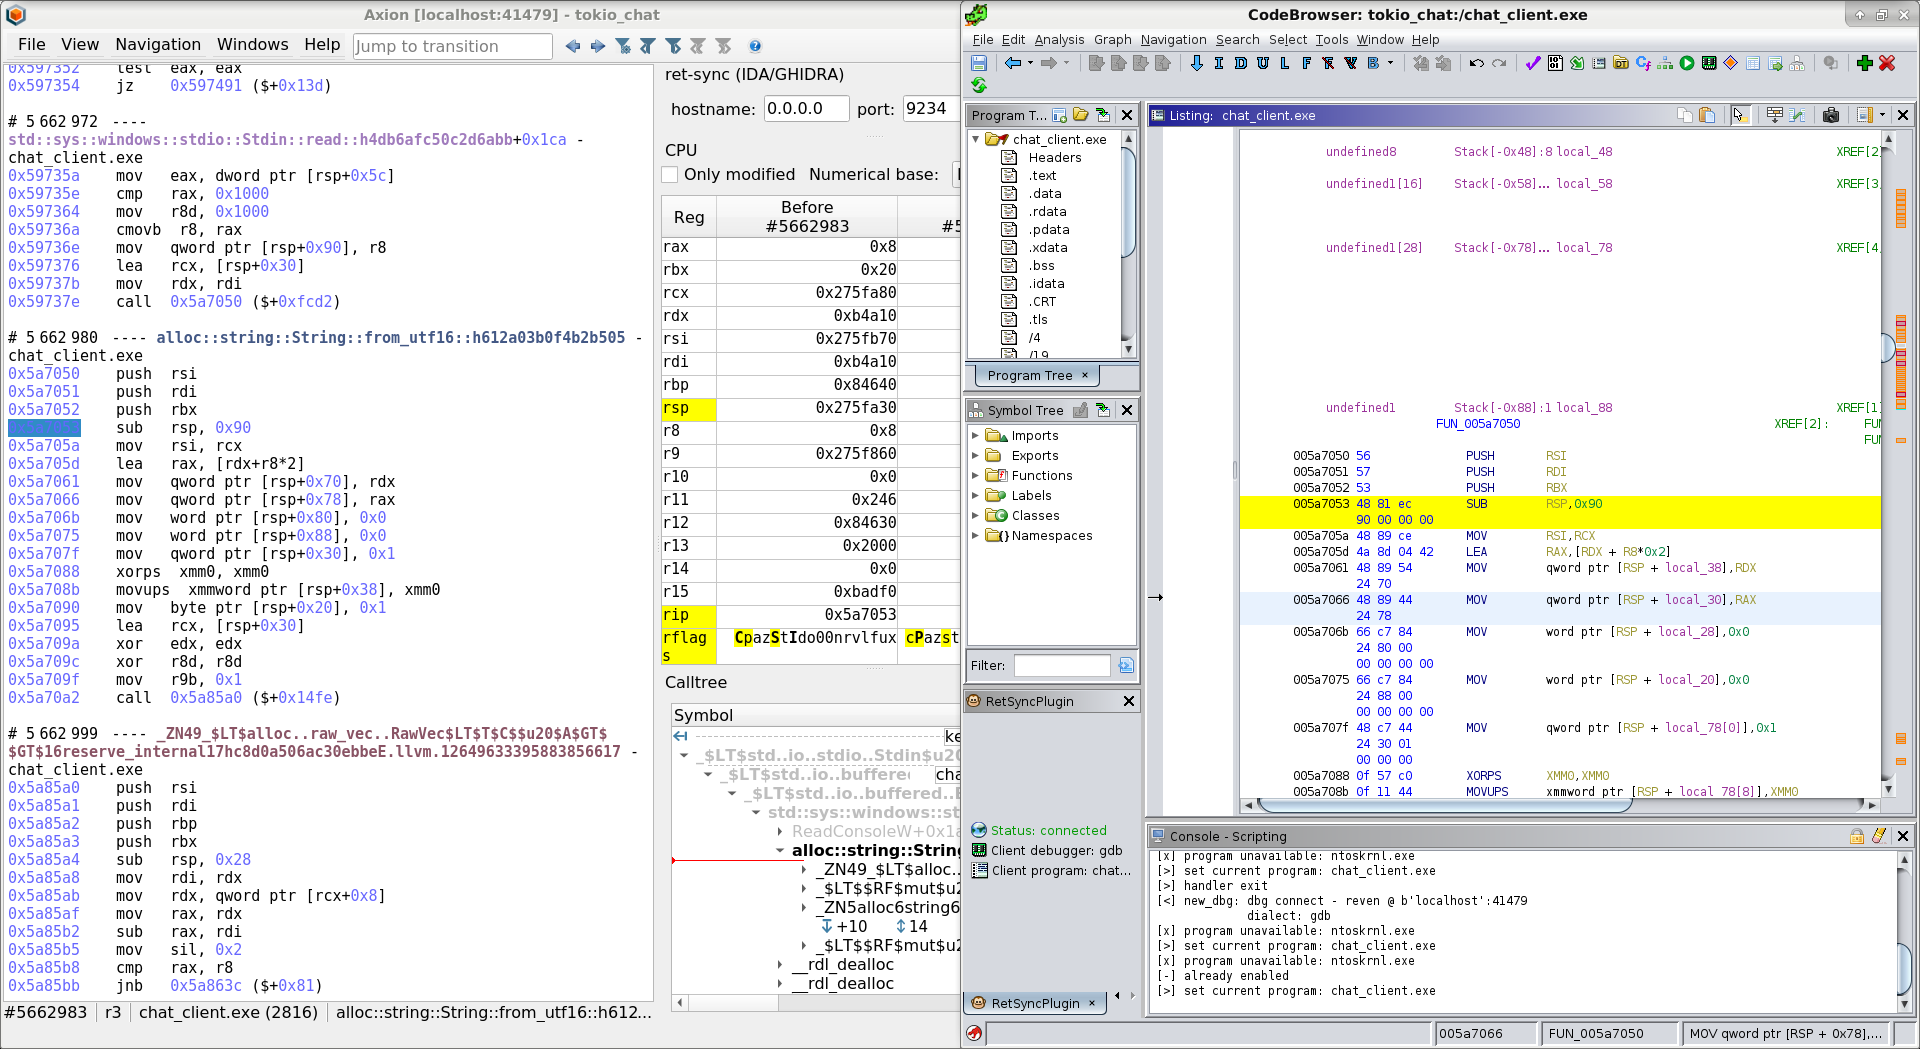
Axion ret-sync Plugin
The Axion ret-sync plugin enables the synchronization of IDA/Ghidra instances with the
currently selected instruction of an Axion instance. It is basically a wrapper
around ret-sync, which is a tool written by Alexandre Gazet.
Setting up the plugin
Prerequisites
In order to use the synchronization working, you must:
- have the OSSI for your scenario activated on the REVEN server.
- ensure network connectivity between the Axion and IDA/Ghidra hosts. In particular, if a firewall is activated, it must allow to open a socket on the selected host and port.
Download the ret-sync tool
To use the plugin, you have to download ret-sync from Github and go to the latest known working git commit.
git clone https://github.com/bootleg/ret-sync
cd ret-sync
git checkout 98698a5705dac4e5ffe834002017a7a339eeb2bc
Configuring the ret-sync tool
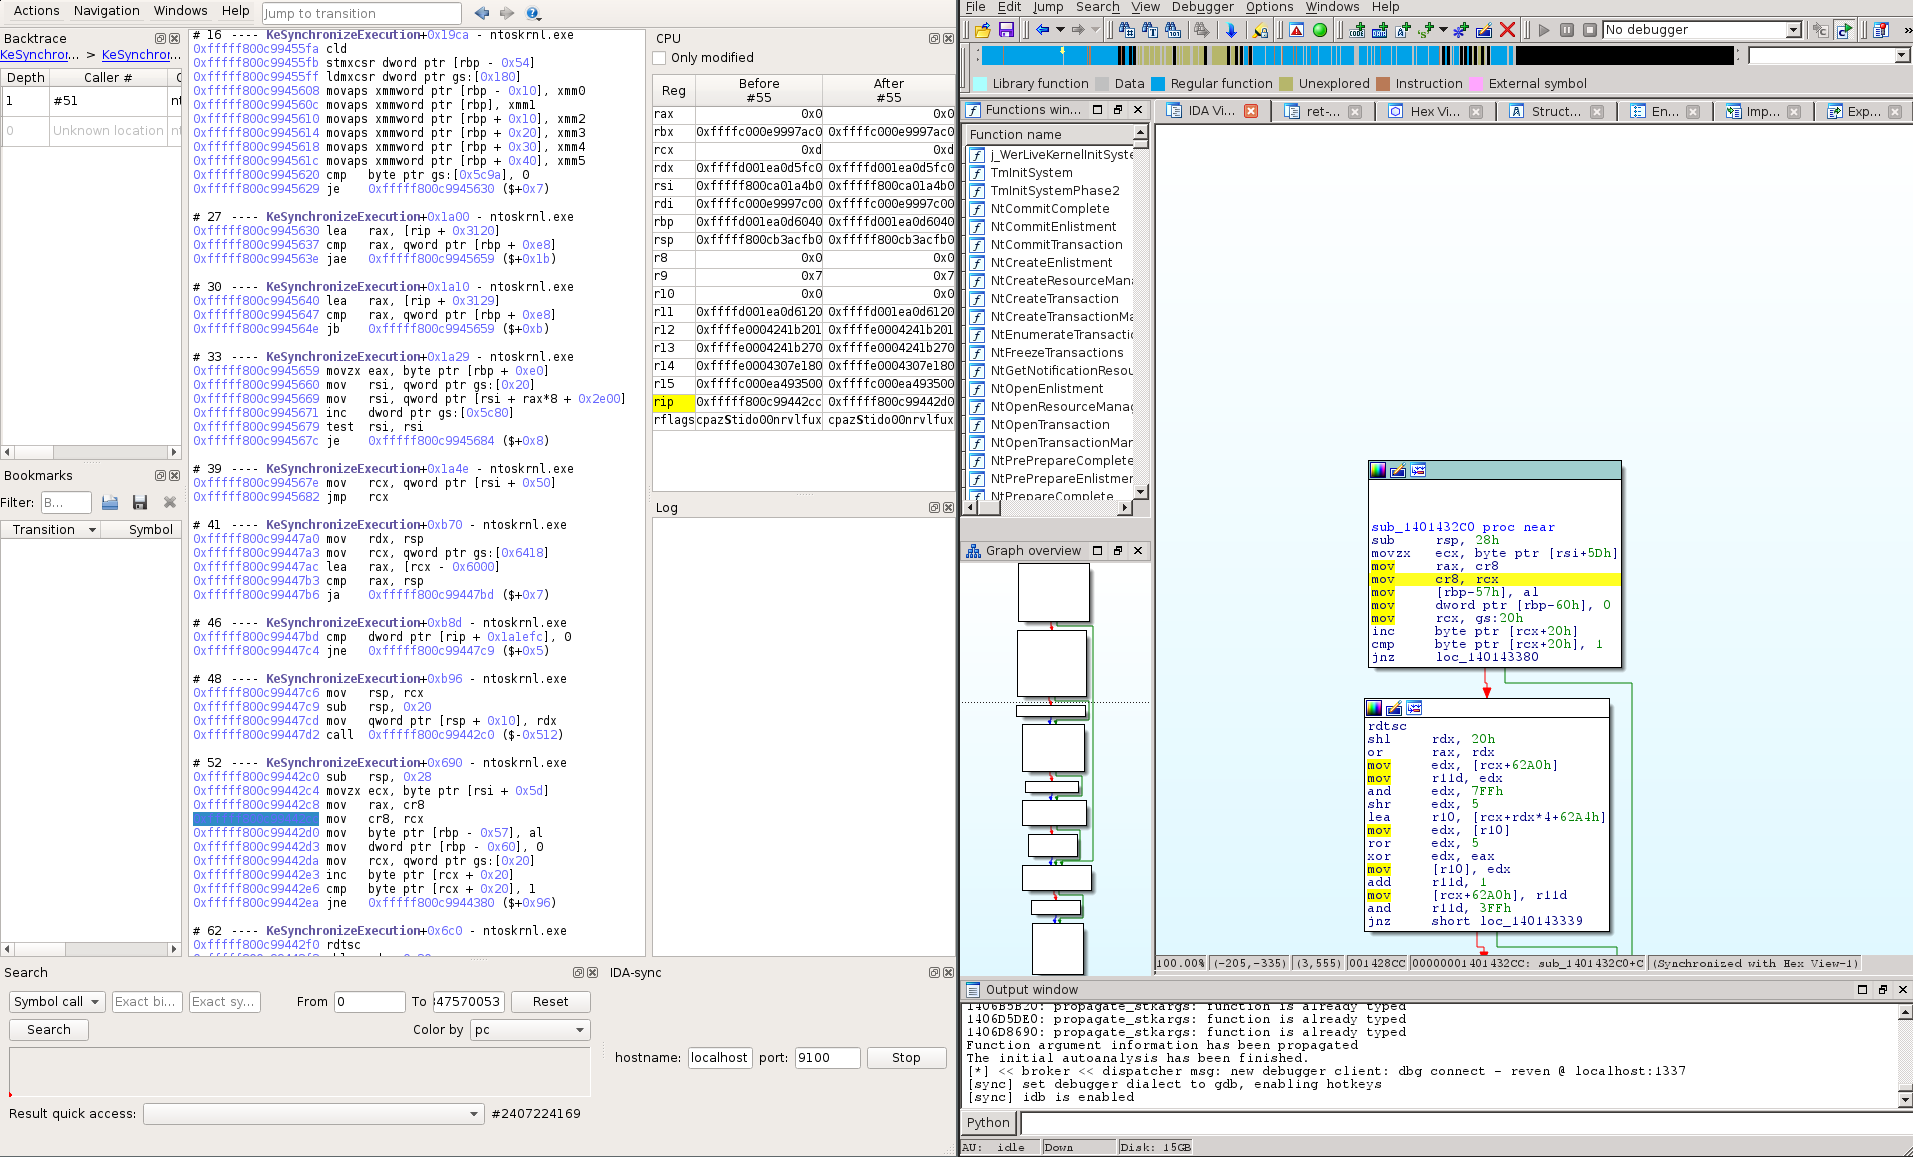
ret-sync allows remote setup, that is having IDA/Ghidra on a different host than Axion. To allow this kind of configuration, the ret-sync IDA/Ghidra plugins handles debugger events through a network socket and dispatches them to the right IDA/Ghidra window. More information can be found the Github repository.
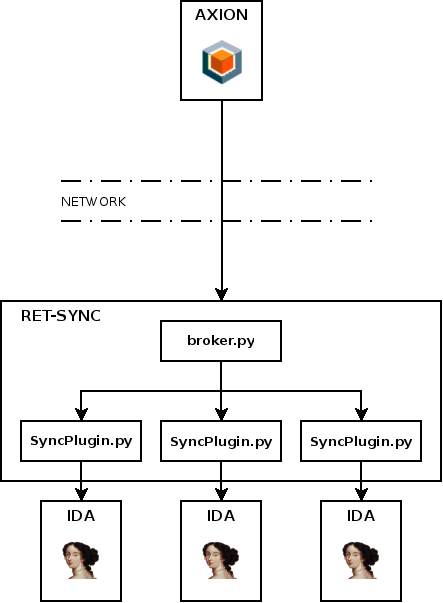
The figure below describes how ret-sync is deployed between Axion and IDA/Ghidra.
By default, ret-sync will work on a local configuration where IDA/Ghidra and Axion are on the same host (ret-sync will listen on 127.0.0.1). If it is your case you can skip this part.
To allow remote usage of ret-sync, a configuration file must be placed on the
IDA/Ghidra host. The configuration file should be named exactly .sync and can be
located either in the IDB or in the Home directories. The .sync file follows
the .ini syntax and allows setting the host and port the ret-sync will listen
on. eg:
[INTERFACE]
host=192.168.1.16
port=9100
The host option is the IDA/Ghidra host machine address, which can be retrieved by
issuing an ipconfig command on Windows or ifconfig / ip addr on Linux.
Install the ret-sync IDA plugin
IDA7.x
Copy Syncplugin.py and retsync folder from
ret-sync/ext_ida to IDA plugins directory, for example:
C:\Program Files\IDA Pro 7.4\plugins%APPDATA%\Hex-Rays\IDA Pro\plugins~/.idapro/plugins
IDA6.9x
- Go to the
ida6.9xgit tag:
cd <ret-sync dir>
git fetch
git checkout ida6.9x
- Follow the installation step from the README file
Install the ret-sync Ghidra plugin
-
From Ghidra projects manager:
File->Install Extensions..., click on the+sign and select theext_ghidra/dist/ghidra_*_retsync.zipand click OK. This will effectively extract theretsyncfolder from the zip into$GHIDRA_DIR/Extensions/Ghidra/ -
Restart Ghidra as requested
-
After reloading Ghidra, open a module in CodeBrowser. It should tell you a new extension plugin has been detected. Select "yes" to configure it. Then tick "RetSyncPlugin" and click OK. The console should show something like:
[*] retsync init
[>] programOpened: tm.sys
    imageBase: 0x1c0000000
The latest known working version of Ghidra for synchronization with Axion is 9.2.2.
Enable the synchronization
Loading target binary in IDA/Ghidra
To synchronize an IDA/Ghidra instance with Axion, you obviously need to load a binary used in the scenario. If you do not already have this binary, you can extract it from the light filesystem of your scenario, in:
SCENARIO_REPLAY_DIRECTORY/light_fs/
If the binary was uploaded to the VM via the CD-Rom, you can also search for it in:
SCENARIO_INPUT_DIRECTORY/
Where SCENARIO_REPLAY_DIRECTORY and SCENARIO_INPUT_DIRECTORY are
respectively the "Replay" and "Input" directories of your scenario, as indicated
in the "Scenario details" page of your scenario in the Project Manager.
Running the ret-sync IDA/Ghidra plugin
IDA7.x
Start the plugin in IDA using the shortcut Alt+Shift+S or via the menu Edit -> Plugins -> ret-sync.
IDA6.9x
Load the file <ret-sync dir>/ext_ida/SyncPlugin.py using the File > Script File menu.
This will create a ret-sync process listening for debugger events.
Once loaded, the plugin will create a new tab in IDA and allow you to change the binary name. IDA-Sync enables the synchronization only when the correct binary is being debugged so you must ensure that the IDA and REVEN binary names are perfectly matching.
Ghidra
Enable the plugin in the Ghidra codebrowser using shortcuts Alt+S.
Running the Axion ret-sync plugin
- Open the Axion ret-sync plugin from the Axion menu
View > ret-sync. - Fill the host and port fields using the machine address and port of the machine where IDA/Ghidra is running on.
NOTE: If the base address of the studied binary is different between Axion and IDA/Ghidra (because of ASLR for example), the synchronisation will still work correctly but the displayed addresses will not match between Axion and IDA/Ghidra. To have the same addresses, the binary in must be rebased to the base address used in Axion. To do that you can use in
- IDA: the menu
Edit > Segments > Rebase Program. - Ghidra: the menu
Window > Memory Mapthen click on the top right house button.
Then you must restart the plugins in IDA/Ghidra and Axion.